Printify Image Requirements: The Complete Spec Guide
Printify’s baseline image requirement is 300 DPI at the pixel dimensions specified for each product. For most t-shirts, that means at least 4500 x 5400 pixels. Get those two numbers wrong and your design prints blurry — no matter how sharp it looks on screen.
This guide covers exact specs for every major product category, the three accepted file formats, how Printify handles color modes, and what to do when you get a low-resolution warning. All specs below come directly from Printify’s official help center and design guide.
DPI Requirements: What Printify Actually Checks
Printify recommends 300 DPI for most products. For large-format items like blankets, leggings, and tapestries, 120–150 DPI is acceptable because those products are viewed from a distance.
Here’s the part that trips up most sellers: DPI is metadata, not magic. A 72 DPI file and a 300 DPI file with the same pixel dimensions will print identically. What Printify actually measures is your pixel count relative to the print area size.
Key fact: Printify’s help center states the recommended resolution for JPEG and PNG files is 300 DPI. However, they also note that “a lower resolution file might also be sufficient depending on the product” — what matters is whether your pixel count covers the print area at acceptable quality.
If you design a t-shirt graphic at 4500 x 5400 pixels and export it at 72 DPI, it will still print at the correct quality because the pixel count is there. If you take a 500 x 600 pixel image and artificially boost it to 300 DPI in Photoshop, Printify will flag it as low resolution — because artificially increasing DPI adds no real pixel data.
The practical rule: design at the target pixel dimensions from the start, then export at 300 DPI.
Before you upload: Run your design through our free DPI Checker to confirm it meets Printify’s requirements. Check DPI Free →
Pixel Dimensions by Product Type
Printify displays exact print file requirements for each product inside the Product Creator when you click the Upload button. The dimensions below are sourced from Printify’s official help articles and design guide — use them as your starting point, then verify in the tool for your specific product variant.
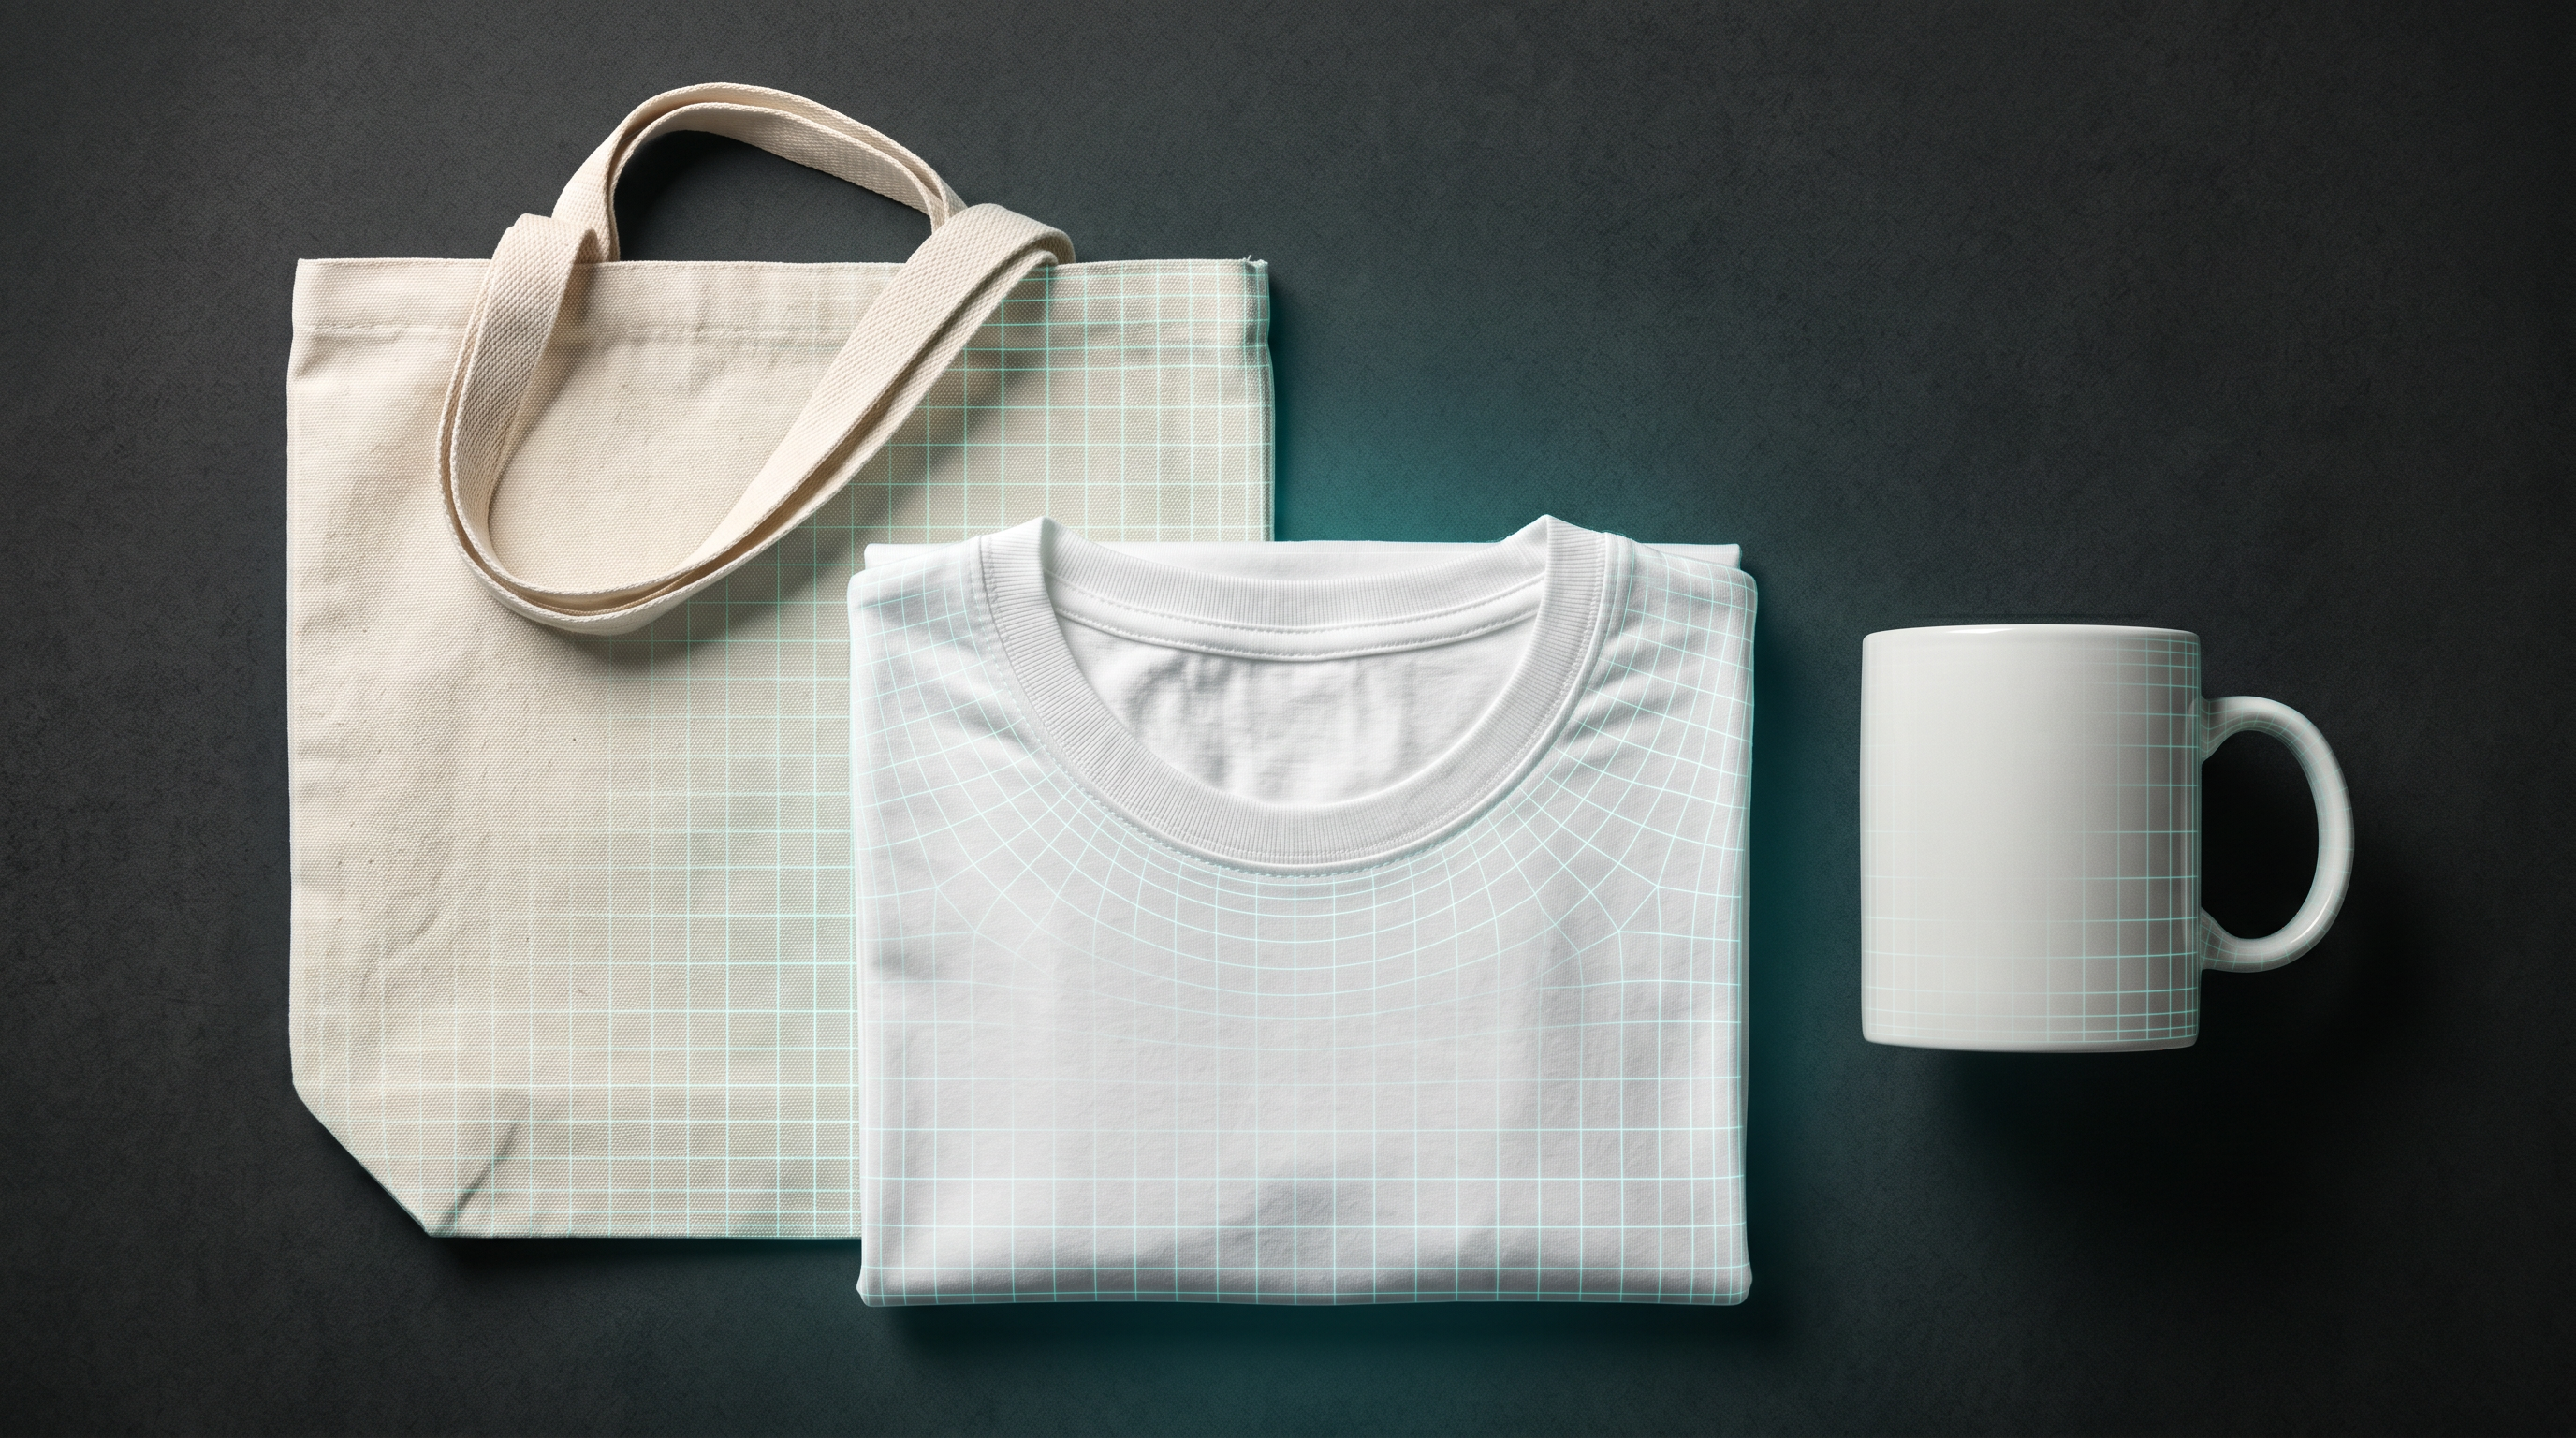
T-Shirts and Apparel
| Print Area | Minimum Pixels | Recommended Pixels | DPI |
|---|---|---|---|
| T-shirt front (full) | 3600 x 4800 px | 4500 x 5400 px | 300 |
| T-shirt front (chest) | 1800 x 2400 px | 2400 x 3200 px | 300 |
| Hoodie front | 3600 x 4800 px | 4500 x 5400 px | 300 |
| All-Over Print apparel | Varies by garment | Check Product Creator | 150 |
Per Printify’s design guide, for large DTG printers the target is at least 4500 x 5100 pixels — equivalent to 15” x 17” at 300 DPI. The 4500 x 5400 figure is widely cited by Printify for standard t-shirt front coverage.
Mugs
| Print Area | Recommended Pixels | DPI |
|---|---|---|
| Mug wrap (11 oz standard) | 2400 x 900 px | 300 |
| Mug wrap (15 oz) | 2400 x 1200 px | 300 |
Printify’s blog notes that a mug “might only need 2400 x 1200 pixels” — lower than apparel because the print surface is smaller. Keep small text and fine details minimal on mugs: the curved surface reduces apparent sharpness.
Posters and Art Prints
These are the most dimension-sensitive products on Printify. Every inch of print area at 300 DPI translates directly to pixel requirements. The table below is sourced from Printify’s Art Print Sizes Guide.
| Print Size | Pixel Dimensions | DPI |
|---|---|---|
| 4” x 6” | 1200 x 1800 px | 300 |
| 5” x 7” | 1500 x 2100 px | 300 |
| 8” x 10” | 2400 x 3000 px | 300 |
| 11” x 14” | 3300 x 4200 px | 300 |
| 12” x 16” | 3600 x 4800 px | 300 |
| 16” x 20” | 4800 x 6000 px | 300 |
| 18” x 24” | 5400 x 7200 px | 300 |
| 24” x 36” | 7200 x 10800 px | 300 |
For the largest formats — 30” x 40” and above — Printify recommends consulting the specific product template in the Product Creator, as requirements vary by printer.
Phone Cases
Phone case print areas are smaller than apparel but still require 300 DPI precision. Because the design wraps or fills a defined template, Printify recommends checking the product template directly. The Product Creator displays the exact canvas size for each device model. A common range is 1200 x 2100 px to 1500 x 2700 px for standard phone case wraps, but this varies significantly by device.
Large-Format Products (Blankets, Tapestries, Leggings)
| Product | Accepted DPI | Notes |
|---|---|---|
| Blankets | 120–150 DPI | Viewed from distance |
| Tapestries | 120–150 DPI | Viewed from distance |
| All-Over Leggings | 120–150 DPI | Large surface area |
Per Printify’s help center, these products “require large-sized files” but accept lower DPI because they’re not inspected up close. Still aim for the highest pixel count your design software allows.
Embroidery Products
Embroidery works differently from DTG and sublimation. Per Printify’s embroidery help guide:
- Accepted formats: SVG or high-resolution PNG (300 DPI minimum, at least 1200 x 675 px)
- No stitch files (DST, PES, EXP) — Printify digitizes the design after you place an order
- Maximum 6 thread colors per design
- No gradients, color blends, or subtle shading — these cannot be stitched
- Minimum line thickness: 0.05” (1.27 mm)
- Minimum text height: 0.25” (~6 mm)
File Formats: PNG, JPEG, and SVG
Printify’s Product Creator accepts three file formats. Each has a specific use case.
PNG (Recommended for Most Designs)
PNG is the best choice for the majority of POD designs. Per Printify’s official help center:
- Supports transparent backgrounds — essential for designs placed on colored apparel
- Lossless compression — no quality degradation on export
- Color mode: RGB and sRGB only (no CMYK support in PNG)
- Maximum file size: 100 MB
Use PNG for: graphic tees, illustrated designs, text-based designs, anything that needs a transparent or no-background treatment.
JPEG
JPEG works for photorealistic designs and photography-based products. Key limitations:
- No transparency support — JPEG files always have a white or solid background
- Lossy compression — export quality affects final print. Printify’s design guide recommends exporting at 60–80% quality
- Supported color modes: RGB, sRGB, and CMYK (Printify converts CMYK to RGB on upload)
- Maximum file size: 100 MB
Use JPEG for: photographic prints, photo gifts, products where background color matches the product surface.
SVG (Vector)
SVG is vector-based, meaning it scales to any size without losing quality. Printify supports SVG for most products with one key restriction:
- Maximum file size: 20 MB (significantly lower than PNG/JPEG)
- SVG files can include embedded raster images, but those embedded images are also subject to quality requirements
- Not recommended for photographs or raster artwork
Use SVG for: logos, typography, geometric illustrations, and any design you need to scale across multiple product sizes without re-exporting.
Color Mode: RGB vs. CMYK on Printify
Printify’s system operates in RGB. If you upload a CMYK file, Printify converts it to RGB before sending to production.
This is the most misunderstood spec in POD. Here’s what it means in practice:
Screens display color in RGB (Red, Green, Blue). Printers use CMYK (Cyan, Magenta, Yellow, Black). Historically, designers were told to “design in CMYK for print.” On Printify, that advice causes problems.
Key fact: According to Printify’s design guide, “we will convert any CMYK files you upload to RGB.” The conversion can cause color shifts — particularly with highly saturated colors that exist in RGB but fall outside the CMYK gamut.
The safest workflow, confirmed by Printify’s guide:
- Design in sRGB from the start
- Preview your design in both RGB and CMYK within your design software to spot potential shifts
- Export as PNG in sRGB
- Let Printify handle any conversion needed for the specific printer
Avoid highly saturated neon colors in designs — these are notoriously difficult to reproduce accurately in print regardless of platform.
Transparent Backgrounds: When to Use Them and When Not To
Transparent backgrounds are one of PNG’s main advantages for POD sellers. But there’s a catch specific to DTG (direct-to-garment) printing.
Per Printify’s design guide: avoid gradients that fade to full transparency in DTG designs. On DTG products, transparent areas where the ink fades out will be “filled in with white under the base” — meaning a white underbase layer shows through wherever your design becomes transparent.
The fix: if your design has a soft-edge fade, consider making the background a solid color that matches the product, or use a hard edge on the design perimeter.
Transparency works exactly as expected for:
- Sublimation products (mugs, phone cases, all-over print)
- Products with a white surface where the background disappears naturally
- Cut-and-sew products that print edge-to-edge
For dark apparel with DTG printing, test your transparent gradients in a sample order before listing at scale.
Common Upload Errors and How to Fix Them
Low Resolution Warning
Printify flags your design when pixel count is insufficient for the print area. This is not about the DPI number embedded in your file — it’s about actual pixels per inch at the intended print size.
Fix: Recreate the design at the required pixel dimensions from scratch. Do not upscale a small file — upscaling adds pixels by interpolation, not real detail. Printify has an automatic image enhancement feature powered by Claid.ai, but per their documentation, “there are limitations to the level of improvement that can be achieved.”
File Too Large
PNG and JPEG files must be under 100 MB. SVG files must be under 20 MB.
Fix: For PNG, reduce pixel dimensions to match the minimum required (not maximum) for the product. For SVG, simplify paths or reduce embedded raster image size.
Design Appears Blurry in Mockup
Mockup blur is often separate from print quality — Printify’s mockup generator renders at lower resolution than the actual print file. Check the actual pixel dimensions of your uploaded file before assuming the print will be blurry.
If the print itself comes back blurry: the pixel count was insufficient, or you upscaled a low-res file before uploading.
CMYK Color Shift
Colors look different after upload or in the physical product compared to your design software.
Fix: Switch your design to sRGB from the start. Check Printify’s CMYK preview in the Product Creator to see how your colors will translate, then adjust before ordering.
Start With High-Res Assets Built for Print
Getting the right pixel dimensions is only half the equation. The other half is starting with high-quality, print-ready source graphics — not low-res stock images or compressed web graphics you’ve resized up.
Creative Fabrica’s library includes thousands of print-ready graphics, illustrations, fonts, and design bundles built specifically for POD sellers. Files are delivered at commercial resolution, with transparent PNG options, ready to drop into Printify’s Product Creator without format conversion or quality fixes.
Browse Print-Ready Designs Free →
Frequently Asked Questions
What DPI does Printify require?
Printify recommends 300 DPI for most products, including apparel, mugs, and posters. For large-format products like blankets, tapestries, and leggings, 120–150 DPI is acceptable. Per Printify’s help center, a lower resolution may still be sufficient depending on the specific product — what matters is that your pixel count covers the print area at the required size.
What is the recommended image size for a Printify t-shirt?
Printify’s design guide recommends 4500 x 5400 pixels for a full front t-shirt print. This is equivalent to a 15” x 18” print area at 300 DPI. For chest-only designs, a smaller canvas works — check the specific print area dimensions in Printify’s Product Creator under the Upload section.
Does Printify accept PNG or JPG?
Printify accepts both PNG and JPEG (JPG), as well as SVG. PNG is the recommended format for most designs because it supports transparent backgrounds and uses lossless compression. JPEG works for photographic products but does not support transparency and uses lossy compression. SVG is ideal for logos and vector illustrations, with a 20 MB file size cap.
What happens if I upload a CMYK file to Printify?
Printify converts CMYK files to RGB before sending to production. This conversion can cause color shifts, especially with highly saturated colors. Printify’s design guide recommends designing in sRGB from the start to avoid unpredictable color changes after conversion.
Why does Printify say my image is low resolution?
Printify’s low-resolution warning means your pixel count is too low for the intended print size — not that your DPI number is wrong. A 500 x 600 pixel file labeled as 300 DPI will still trigger this warning because there aren’t enough actual pixels to fill the print area at quality. The fix is to recreate the design at the minimum pixel dimensions for your product (for example, 4500 x 5400 px for a t-shirt front) rather than upscaling an existing small file.
Can I use a JPEG for a Printify t-shirt design?
You can, but PNG is strongly preferred. JPEG doesn’t support transparent backgrounds, so your design will always have a solid background — which looks wrong on colored apparel unless the background color matches the shirt. JPEG also uses lossy compression, which can introduce artifacts at lower quality settings. For apparel, use PNG with a transparent background.
All specifications in this guide are sourced from Printify’s official help center articles and Printify’s design guide. Product-specific dimensions can vary — always verify in Printify’s Product Creator for your exact product.